
|
This week I will hosting my first webinar for shop owners and row by row designers. Read more below.
But first ... have you used the hexagonal layouts in Electric Quilts layout library. You can create fantastic quilts using one of these layouts with some very simple blocks.
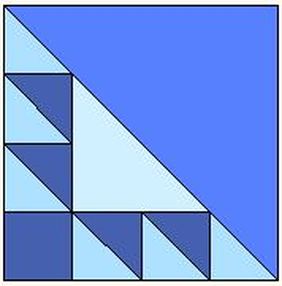
Let me share with you how to go from two simple blocks designed with a 4 x 4 grid to a spectacular quilt in this weeks video tutorial.
Here are the blocks:
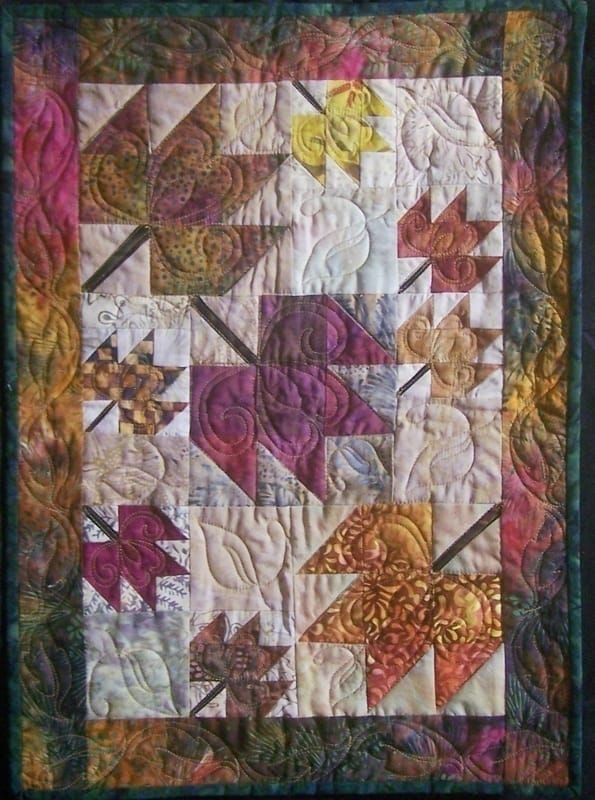
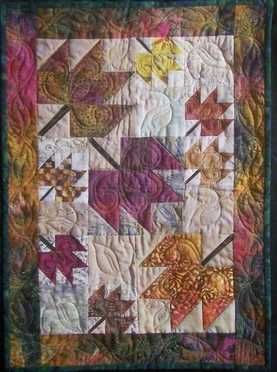
Here is the drafted quilt (sized at 55.5" x 48").
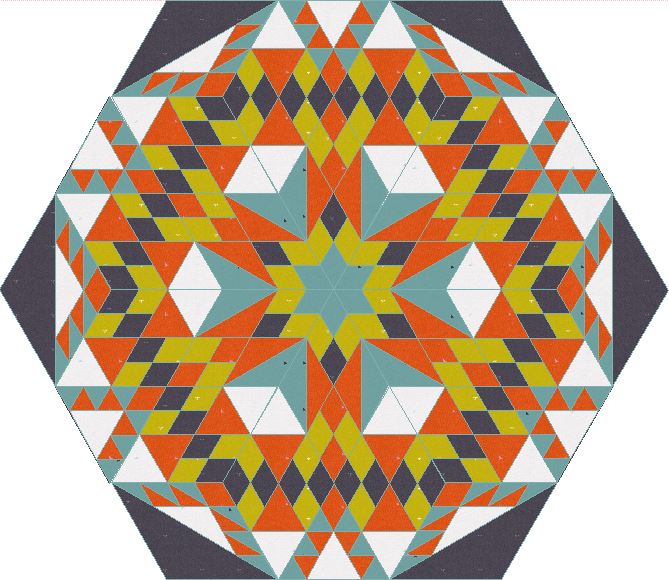
The video also includes the math for resizing these quilts to sizes conducive to using an equilateral triangle ruler. Here is a handout of the quilt math provided in the video.
Attention Row by Row Designers and Shop Owners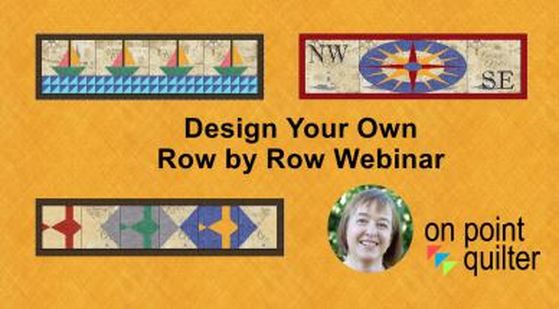
Have you designed your Row by Row quilt for 2017 yet? If you would like to design your own row, I have a webinar that can help.
In this webinar, I will share suggestions for selecting a "block theme", finding or drafting a compatible block, effective layouts, incorporating Row by Row fabric, plus share a few of my own project ideas to inspire your own row. The presentation will focus on using Electric Quilt 7 plus Microsoft Word to complete both the row and the instructions.
Date: Wednesday, May 17, 2017 3 pm (Central Daylight Time) Cost: $20 Bonus: You will also have an option of watching a replay of the session at any time in the future. Plus you will also receive a handout of the top 10 tips to create your row by row. Participation will be limited to 50 attendees. Register now to reserve your space.
Last week I shared a video tutorial on creating labels for all my quilts created during the last two years -- a daunting task. If you missed the tutorial, please feel free to check out my previous post.
This week I will share with you my shortcuts for printing these labels. My video tutorial describes using the Photo Layout feature within Electric Quilt. It is a great way to combine a number of labels on an 8-1/2" x 11" sheet of paper or fabric sheet.
I will admit that I didn't quite follow all the "rules" for the actual printing of my labels. After a couple of test runs, I realized that my color laser printer produced a much more intense label than my ink jet printer. So even though the Electric Quilt website clearly said their product was for ink jet printers, I ran most of them through my laser printer instead. I didn't see a problem -- but I didn't try to wash or rinse them after printing either.
If I eventually have fading, I've decided I will be ok with it. At least I have a label with my name on it -- even if it ends up being in "invisible ink". Designing T-Shirt Quilts using Electric Quilt - New Class
This will be one of my brand new classes that will premiere at the MN Quilt Show in Duluth. I finalized all the projects this week -- and wanted to give you a preview of them.
In this class you will learn to work with actual photographs of your t-shirts and learn how to audition them in your quilt. You will also learn options for working with t-shirts with "unique" sizes that can make them a bit of a challenge. Design instructions for six separate quilts are included with the class. Please join me in Duluth! Register for classes here.
I've never been great at that final finishing step in creating a quilt -- attaching a label. Most of my quilts (if they survive that long) will have historians wondering "who made this" and "why". As I write this post, my guild's show starts tomorrow and I have a number of quilts entered (actually every quilt I've made since the last show two years ago). I am not sure there will be room to display them all -- but I want to be ready -- just in case. Our guild has very few guidelines, but one thing they do request is a label so they can make sure that tags are matched correctly with the quilts and they can make sure to return the quilts to their proper owners. 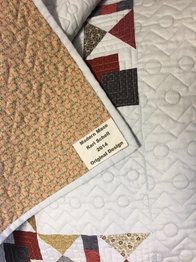
Two years ago, I ran out of time and printed a sheet with quilt name, my name and date with fusing on the back that was then ironed to the quilt. Definitely not a glorious way to finish my quilts.
I consider this a terrible "back problem".
This year I vowed to do better. After making a list of my quilts, I realized I had 18 labels to make. So I devoted a good chunk of my time yesterday to producing custom labels, printing them on EQ Printable fabric, and then actually sewing them on the backs of my quilts. No fusing for me this year.
Would you like to know my technique for creating these custom labels in Electric Quilt. Check out my video tutorial to see how I did this.
Stay tuned for part 2 where I will share how I used the Photo Layout feature in Electric Quilt to quickly insert my labels, arrange them and print.
Here is a slideshow of the completed labels.
If you would like to see the actual quilts (and live in the Minneapolis area), our show is Friday and Saturday (April 28 and 29, 2017) at the Maple Grove Community Center in Maple Grove, MN. Hours are 10-4. I should be wandering the show most of the time -- so be sure to stop me and say hi.
And make sure to ask one of the white glove ladies to show you my backs. Then you can see the labels as well. 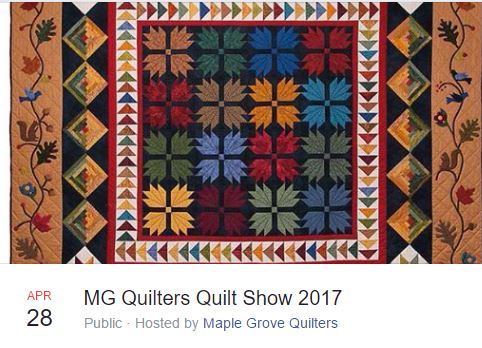
I also cover another method of creating labels in my Beginning Electric Quilt online class. The next session is scheduled to start on May 4th. Register now.

 This week is finding me at Electric Quilt Academy. I have been working with a wonderful group of women to do a deep dive into the block drawing tools. Imagine learning to draw Easy Draw, Pieced Patchdraw, Applique and Foundation Paper Piecing patterns all in the course of 3 days. I also got to hang out with Mary Ellen Kranz and Barb Vlack -- two premiere Electric Quilt instructors. Plus get to know both Penny McMorris and Dean Neumann, the founders of Electric Quilt. I also realized that their superior customer service runs throughout the entire company. Many of their staff spent time assisting in the classroom. They know the product inside and out and were incredibly helpful in assisting both me and my students. Easter Bunny Mini-Class UpdateMany of you had a taste of drafting applique blocks with my Easy Bunny mini-class. I was overwhelmed with the response and was honored to have so many of you in the class. Thanks so much for the positive feedback and validation of what I absolutely love to do - share my love of Electric Quilt and quilting. Are you ready to learn more? Electric Quilt Applique Class Starts April 24th This is your last chance to sign up for the Electric Quilt Applique class that starts next Monday. This four week class is designed to bring your applique drawing skills to the next level. I would love to have a couple more of you join me in my first online version of this class. Read more here. Enroll here. Electric Quilt Self AssessmentMany of the people in the applique mini-class indicated they were a “beginner” at Electric Quilt and were probably wondering if the Introduction to Electric Quilt class would be a good next step. Here is a list of questions that can be used to assess your Electric Quilt skill set. Count how many of these "questions" you can relate to. 1.How do I find (…..)? 2.How can I create a basic quilt? 3.How can I use real fabrics currently on the market? 4.How can I bring in a scanned or photographed fabric from my stash and use it to color a quilt? 5.How can I draw a basic block of my own? 6.Is there a way to start with a preplanned quilt and make changes to it? 7.Can EQ help me with labels for my quilt? 8.What’s the difference between the library and the sketchbook? 9.How do I move things from the library to my current project? 10.I know I saved (….), but it has now disappeared. 11.What are the “layers” in a quilt and why do we need them? 12.How do I figure out fabric yardage? 13.How do I print (…)? Let me know how you did? Which areas are you struggling the most with? If you answered yes (or could relate) to five or more questions, a beginning Electric Quilt class may be for you. Or maybe it is just time for a refresher course. 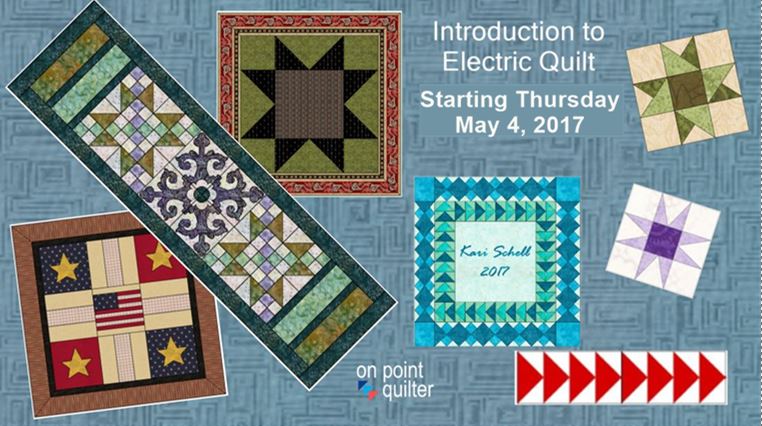 I have two upcoming opportunities to learn the basics: Introduction to Electric Quilt 7
Upcoming Maple Grove Quilt Show Next Friday and Saturday will find me at the Maple Grove Quilt show in Maple Grove MN. I have a number of my quilts that will be in the show along with with a couple of Electric Quilt mini-lectures. Please join me. Read more here.
Happy Easter! Special Delivery by the Easter Bunny by Kari Schell Special Delivery by the Easter Bunny by Kari Schell
I've been super busy this week finalizing everything for Electric Quilt Academy. It is hard to believe it is less than one week away.
Unfortunately I didn't get my Easter bunny video tutorial done. But I have a plan to still share it with you. Read more below. Electric Quilt Applique Class Starts April 24th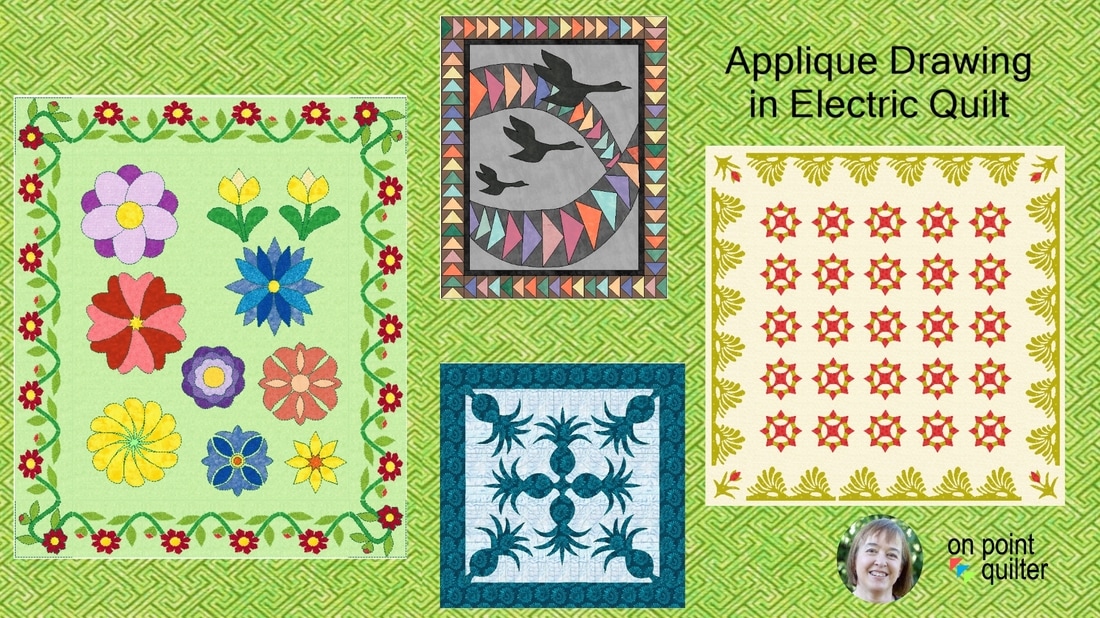
Free EQ Applique Bunny Mini-Class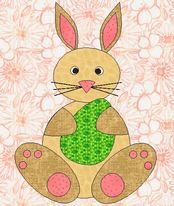
I know a number of you are wondering if an Electric Quilt applique class is for you.
Here is my offer. An opportunity to attend a free mini-class on drawing my latest Easter bunny in Electric Quilt. You will have a chance to check out how an online instructor led class works -- and at the same time you will learn how to draft this adorable bunny ready to share one of his prized eggs.
Class will be at 7:00 pm Central Daylight time on Monday, April 17, 2017. Please join by computer to watch the demonstration and to participate in Q&A.
You must pre-register. Please only sign up if you can attend the class. I am limited to 50 participants on my Zoom conferences -- and so I must limit sign-ups as well. Register here.
|


Free guide available for newsletter subscribers


Kari SchellElectric Quilt Expert and Educator and Pattern Designer. Categories
All
Archives
May 2024
|


 RSS Feed